When it comes to home renovations, one of the most rewarding DIY projects is installing laminate flooring in your kitchen. Not only does it transform the space, but it’s also cost-effective and achievable for most homeowners with a little guidance.
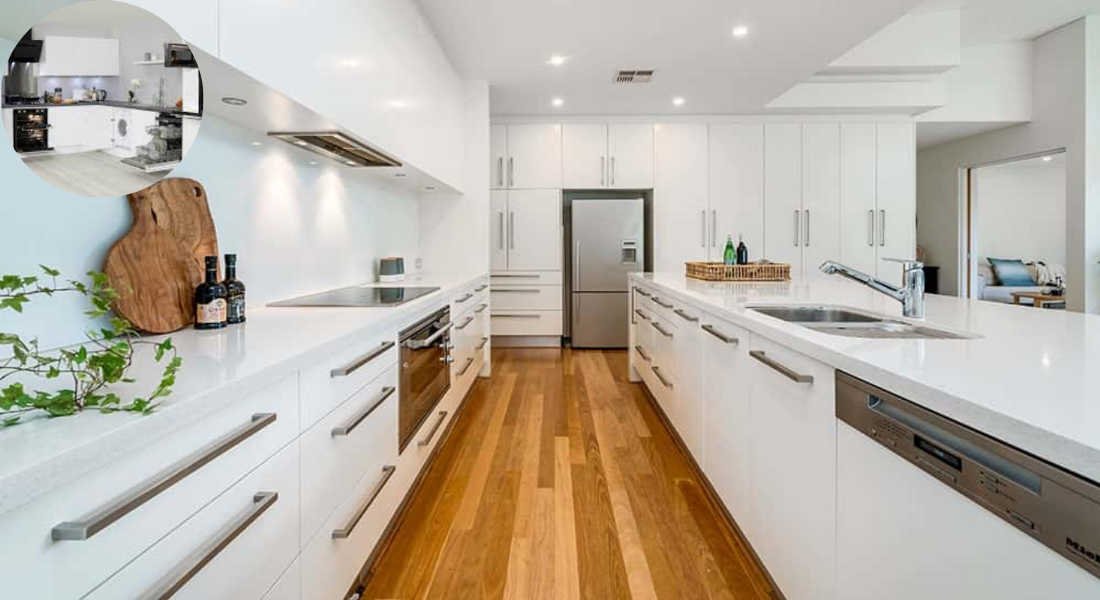
Your kitchen is the heart of the home, and its flooring plays a significant role in its overall appearance and functionality. If your current kitchen floor is looking outdated or worn, replacing it with laminate flooring might be the perfect solution.
Laminate flooring has gained popularity as a go-to choice for kitchens because of its affordability, durability, and aesthetic appeal. It mimics the look of hardwood or stone but is much easier to install and maintain. Plus, with advancements in technology, many laminate options are now water-resistant, making them ideal for kitchen environments.
Understanding Laminate Flooring for Kitchens
What Is Laminate Flooring?
Laminate flooring is a multi-layer synthetic flooring product designed to mimic materials like hardwood, tile, or stone. Its layers include:
- Wear Layer: Protects against scratches, stains, and wear.
- Design Layer: Gives the flooring a realistic look with printed patterns and textures.
- Core Layer: Made of high-density fiberboard (HDF) for strength and stability.
- Backing Layer: Provides additional moisture resistance and balance.
Advantages of Laminate Flooring in Kitchens
Laminate flooring offers several benefits that make it ideal for kitchen environments:
- Durability: It’s resistant to wear and tear, perfect for high-traffic areas like the kitchen.
- Water Resistance: Many laminate options are water-resistant, making them suitable for handling spills.
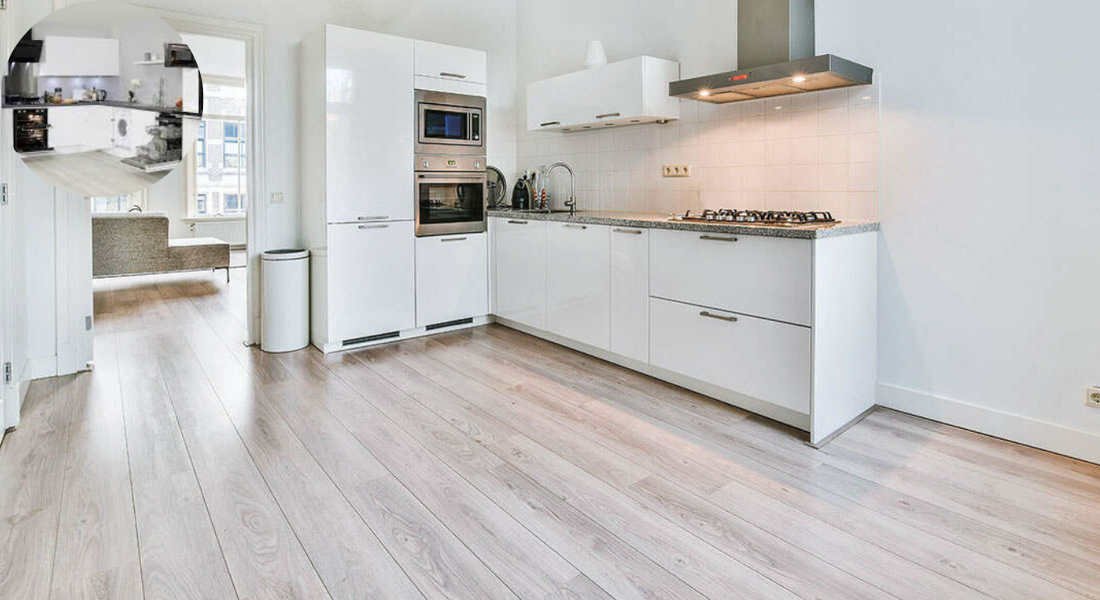
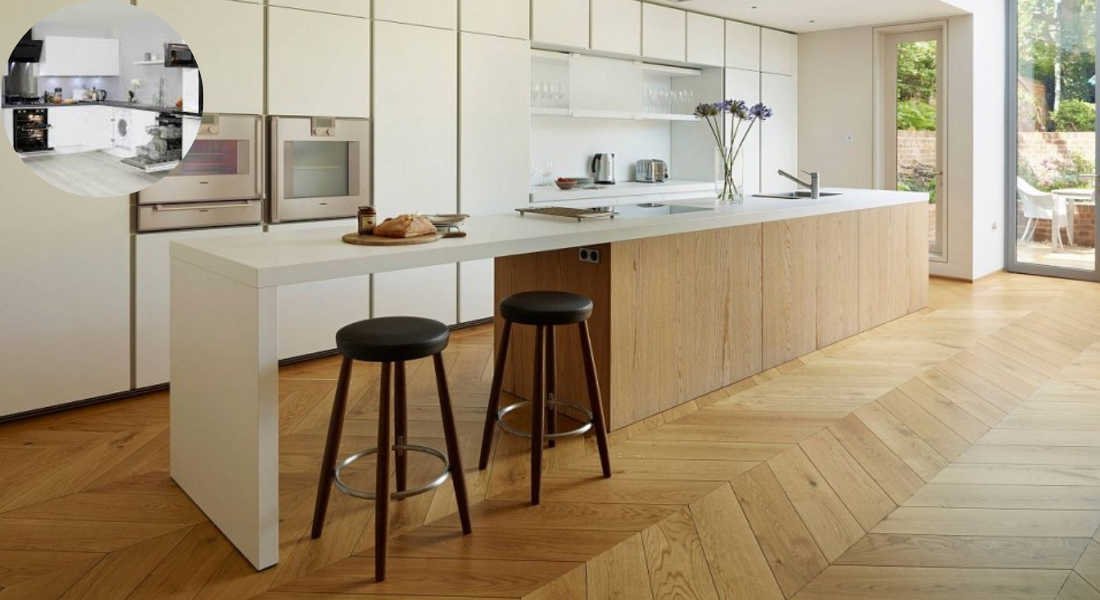
- Aesthetics: With a wide range of styles, you can achieve the look of hardwood or tile without the high cost.
- Easy Installation: The click-and-lock system makes it beginner-friendly for DIY enthusiasts.
Types of Laminate Flooring for Kitchens
When choosing laminate flooring for your kitchen, prioritize:
- Water-Resistant Laminate: Designed to handle spills and humidity.
- Scratch-Resistant Finishes: Ideal for homes with pets or heavy foot traffic.
- Textured Surfaces: Adds grip to prevent slips in a busy kitchen.
Key Considerations Before Starting
Before jumping into your project, keep these points in mind:
- Subfloor Condition: Ensure your subfloor is clean, dry, and level to avoid issues later.
- Moisture Levels: Kitchens are prone to spills, so a moisture barrier is essential.
- Expansion Gaps: Laminate flooring expands and contracts with temperature changes, so leave a gap of 1/4″ to 3/8″ around the edges.
Tools and Materials Needed
Before you start, gather all the tools and materials required for the project. Having everything on hand will save you time and frustration.
You may also read (house architecture considered).
Tools Checklist
- Measuring Tape: For accurate measurements.
- Spacers: To maintain expansion gaps.
- Saws: Miter saw, jigsaw, or table saw for cutting planks.
- Rubber Mallet: To gently tap planks into place.
- Tapping Block: Ensures planks click together without damage.
- Pull Bar: For tight spaces where tapping isn’t possible.
- Drill and Screws: For securing edges or baseboards.
- Wood Adhesive: Optional, for extra stability.
Materials Checklist
- Laminate Planks: Choose a style that complements your kitchen.
- Underlayment: Acts as a moisture barrier and sound reducer.
- Wood Filler: This is used to fill gaps or holes, if necessary.
Workspace Preparation
- Clear the area of furniture and appliances.
- Set up a cutting station outside or in a well-ventilated area to manage sawdust.
- Keep tools organized and within easy reach.
Preparing Your Kitchen for Laminate Flooring Installation

Preparation is key to a smooth and successful installation. Follow these steps:
Clearing the Space
- Remove all furniture, rugs, and appliances from the kitchen.
- If replacing old flooring, take time to remove it carefully. This includes carpet, vinyl, or tiles.
Cleaning and Leveling the Subfloor
- Sweep and vacuum the subfloor to remove dirt and debris.
- Check for dips or bumps—use a leveling compound if necessary.
Installing Underlayment
- Roll out the underlayment across the subfloor.
- Trim edges as needed and tape seams to ensure a continuous moisture barrier.
Marking Layout Lines
- Use a measuring tape and chalk line to map out plank placement.
- Plan the direction of the planks, typically parallel to the longest wall, for a visually appealing look.
Step-by-Step Guide to Laying Laminate Flooring in Your Kitchen
Now, let’s get into the detailed steps for installation.
Plan Your Layout
- Mark where each plank will go.
- Stagger joints in a third pattern to distribute weight evenly and enhance the design.
Install the First Row
- Begin along the longest wall, placing spacers to maintain the expansion gap.
- Cut planks as needed to fit corners or obstacles.
Connect the Planks
- Click planks together at a slight angle, then press flat.
- Use a tapping block and rubber mallet to secure seams tightly.
Work Around Cabinets and Appliances
- Lay planks up to cabinets and under appliances.
- Notch planks as needed to fit around corners or fixtures.
Finish the Last Row
- Measure and cut planks to fit the final row.
- Remove spacers and install baseboards or trim to cover gaps.
Tips and Tricks for a Successful DIY Kitchen Laminate Flooring Project
To ensure smooth progress, here are some tips:
- Save Scrap Pieces: Use them for tight areas or small gaps.
- Check Seams Regularly: Fix any loose boards immediately.
- Work in Sections: Avoid overwhelming yourself by focusing on one area at a time.
- Use Safety Gear: Always wear gloves and safety goggles while cutting planks.
Maintenance and Care for Laminate Kitchen Flooring
Proper care ensures your flooring stays beautiful for years:
Cleaning Tips
- Sweep or vacuum regularly to remove debris.
- Use a damp mop with a laminate-safe cleaner—avoid excessive water.
Preventing Damage
- Place mats under heavy appliances.
- Wipe up spills immediately to prevent water damage.
Long-Term Care
- Avoid dragging furniture across the floor.
- Consider professional repairs for deep scratches or damage.
You may also read (discovering the beauty of house architecture).