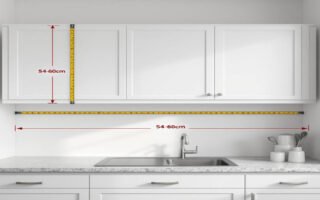
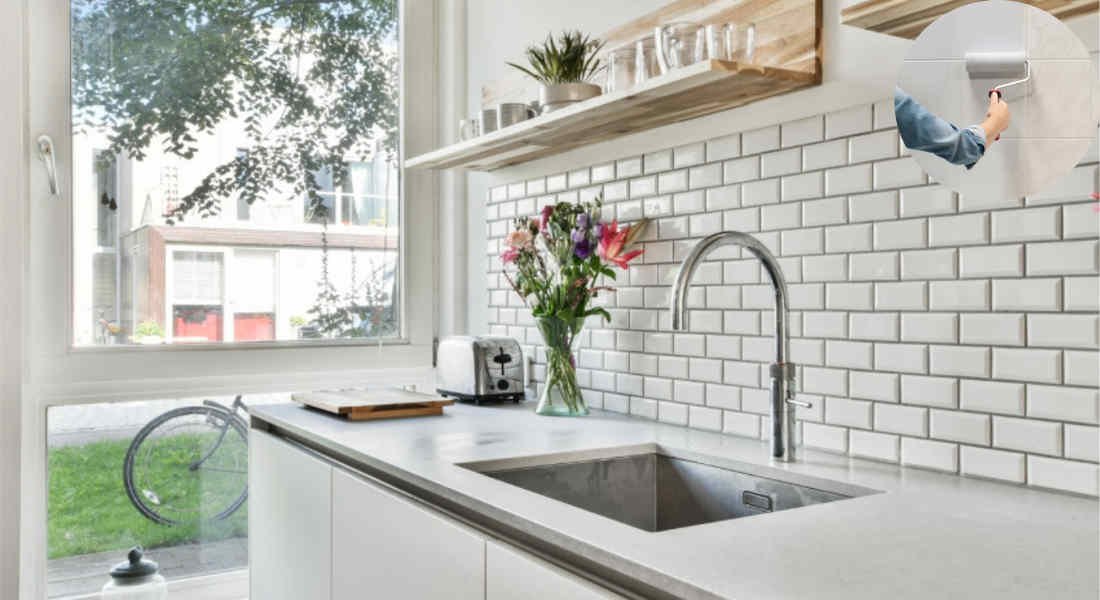
Transforming your kitchen can be an exciting journey, but it doesn’t have to break the bank. One of the most budget-friendly and impactful ways to refresh your kitchen is by painting your wall tiles white. Whether you’re a DIY enthusiast or just looking for a simple upgrade, this guide is designed to be easy to follow and implement.
Why Paint Kitchen Tiles White?
Painting kitchen tiles white is a popular and cost-effective home improvement method. Here’s why so many homeowners opt for this solution:
- Brightens the Space: White tiles reflect light, making your kitchen feel larger and airier.
- Modern Aesthetic: White is timeless and pairs well with almost any kitchen style, from farmhouse to contemporary.
- Cost-Effective: Replacing tiles can be expensive and messy. Painting is a fraction of the cost and much quicker.
- Easy Maintenance: A fresh coat of white paint can make cleaning easier and more effective, especially when paired with a durable sealant.
Understanding the Basics of Painting Kitchen Tiles
Before diving into this project, it’s crucial to understand the basics. Not all tiles are created equal, and preparation is key to achieving a flawless finish.
You may also read (laminate flooring in your home kitchen).
What Types of Kitchen Tiles Can Be Painted?
The good news is that many kitchen tiles can be painted. However, the materials of your tiles will determine the outcome. Common tile types suitable for painting include:
- Ceramic Tiles: These are the most common and easiest to paint due to their smooth surface.
- Porcelain Tiles: Slightly harder to paint, but with the right preparation, they can achieve great results.
- Natural Stone Tiles (e.g., Marble): Not recommended, as paint may not adhere well or could damage the surface.
Why Choose Painting Over Replacing Tiles?
Replacing tiles involves demolition, dust, and significant expenses. Painting, on the other hand:
- Saves you money.
- Takes less time.
- Creates minimal mess.
- It is a sustainable option by reusing existing materials.
What Durability and Finish Can You Expect?
When done correctly, painted tiles can last several years. Using high-quality tile paint, a strong primer, and a protective sealant ensures the finish remains durable and resistant to moisture, which is essential for kitchen use.
Why Is Preparation So Important?
Preparation is the backbone of a successful painting project. Skipping steps like cleaning, sanding, or priming can lead to peeling paint and uneven finishes. Taking time to prep your tiles ensures a long-lasting, professional result.
Materials and Tools Needed for Painting Kitchen Tiles
To achieve a professional-looking finish, you’ll need the right tools and materials. Below is a checklist to help you prepare for the project.
Essential Materials:
- Tile Cleaner/Degreaser: For removing grease, dirt, and grime. Examples include TSP (trisodium phosphate) or any strong kitchen cleaner.
- Sandpaper or Sanding Block: To roughen the surface for better paint adhesion. A 220-grit sandpaper works best.
- Painter’s Tape: To protect areas like countertops, cabinets, and grout lines.
- Primer: Use a primer specifically designed for tiles or glossy surfaces.
- High-Quality Tile Paint: Epoxy or acrylic enamel paints are highly recommended for their durability and moisture resistance.
- Paintbrushes and Rollers: Use a small brush for the edges and a foam roller for smooth application.
- Clear Sealer or Topcoat: To protect the painted surface from scratches and moisture.
Additional Supplies:
- Drop cloths to protect floors.
- Gloves and safety goggles for protection.
- A bucket and sponge for cleaning.
Tips for Choosing the Right Paint and Tools:
- Tile Paint: Opt for paint labelled as “tile paint” or “multi-surface paint” designed for high-moisture areas.
- Roller Type: A foam roller ensures an even application without brush marks.
- Sealant: Look for a water-resistant, clear polyurethane topcoat for added protection.
Step-by-Step Guide: How to Paint Home Kitchen Wall Tiles
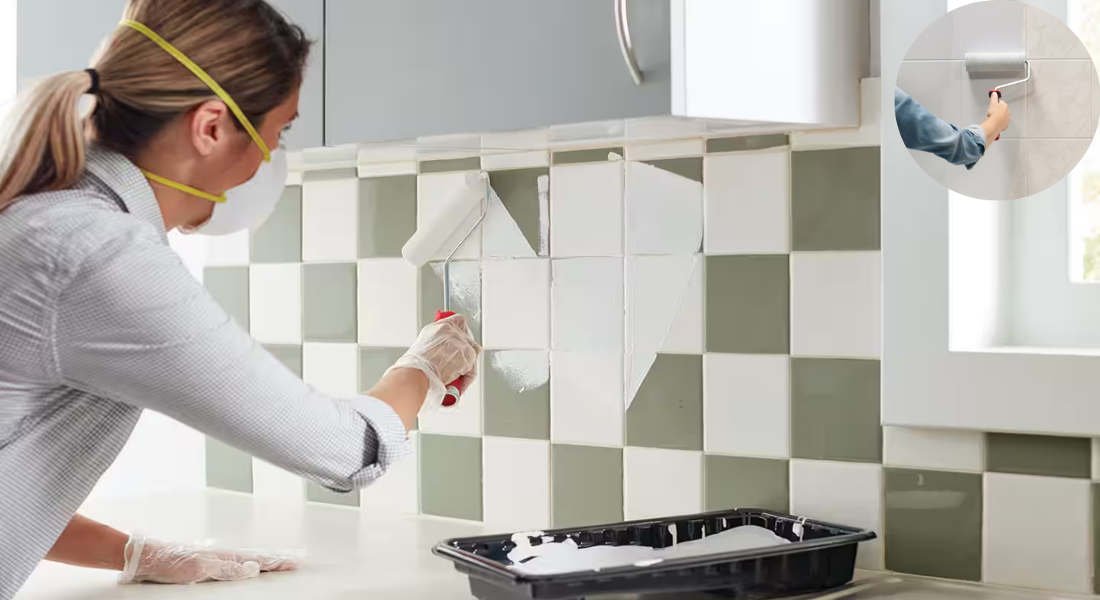
This is the heart of our guide. Follow these steps carefully to paint your kitchen tiles like a pro.
Clean the Tiles Thoroughly
Cleaning is the first and most important step. Grease, dirt, and grime will prevent paint from adhering properly.
- Use a tile cleaner or degreaser to scrub the tiles.
- Focus on areas near the stove and sink, where grease tends to accumulate.
- Rinse thoroughly with water and let the tiles dry completely.
Sand the Tiles
Sanding the tiles creates a rough surface that helps the primer stick better.
- Use 220-grit sandpaper or a sanding sponge to lightly sand each tile.
- Wipe away dust with a damp cloth.
- Safety Tip: Wear a mask to avoid inhaling fine dust particles.
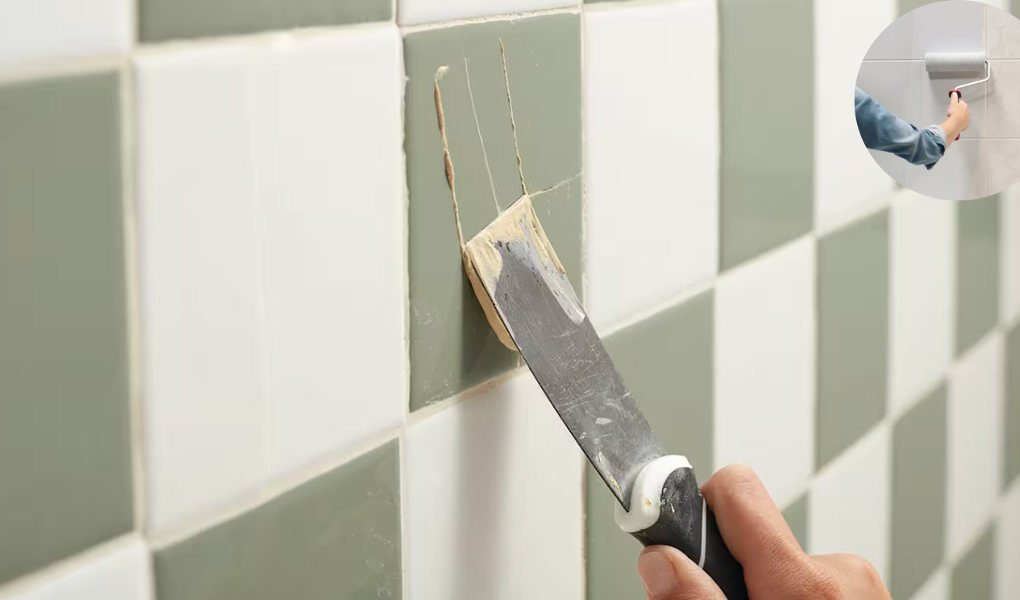
Tape Off Areas
Protect areas you don’t want to paint, such as countertops, cabinets, and grout lines.
- Apply painter’s tape along the edges of the tiles.
- Cover nearby surfaces with drop cloths.
Apply Primer
Priming is essential for paint adhesion and durability.
- Use a tile-specific primer and apply it with a foam roller for an even coat.
- Let the primer dry for the recommended time (usually 24 hours).
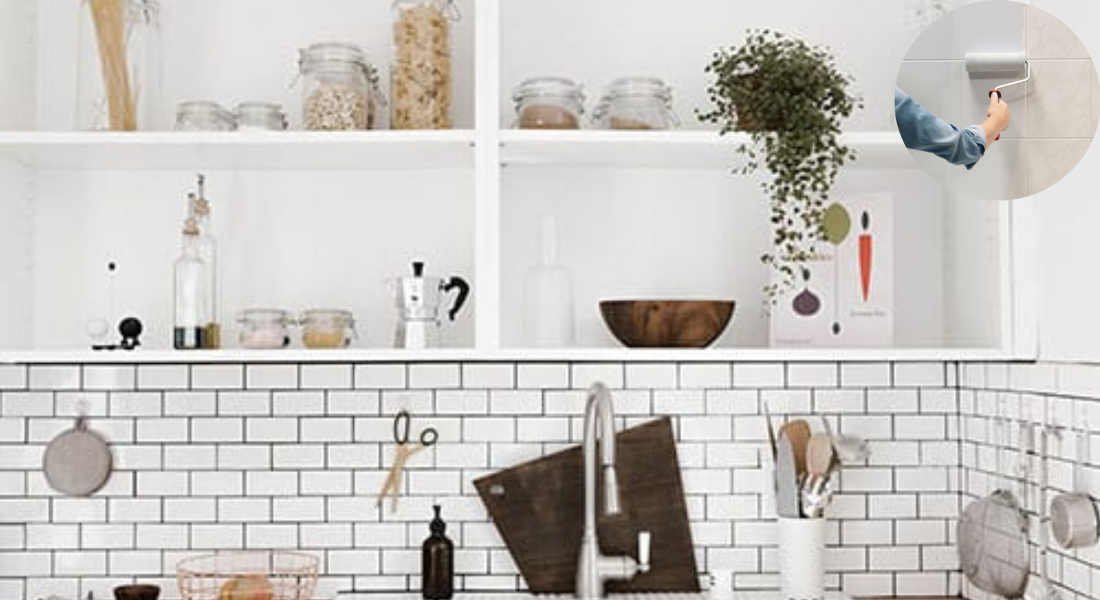
Paint the Tiles
Now comes the fun part—painting!
- Use a small brush for the edges and a foam roller for the tile surface.
- Apply the first coat evenly, working in small sections.
- Allow the paint to dry completely before applying additional coats (2-3 coats are usually sufficient).
- Follow the drying times specified on the paint can.
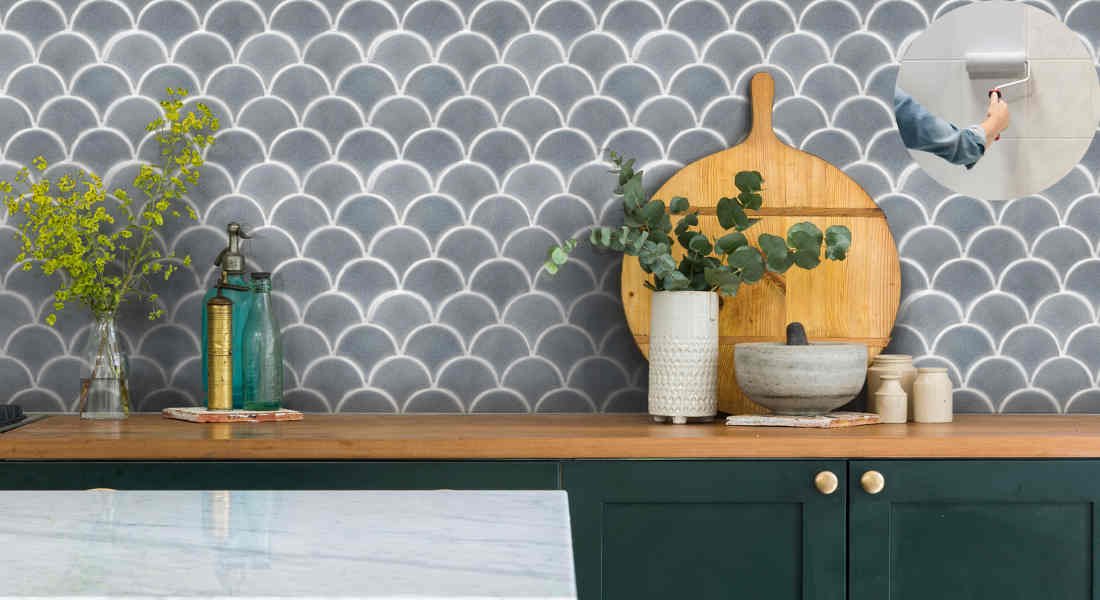
Apply a Clear Sealer
To protect your painted tiles from moisture and wear, apply a clear sealant.
- Use a foam roller or brush to apply the sealer in thin, even coats.
- Allow at least 24 hours for the sealer to cure.
Final Touches and Cleanup
- Remove the painter’s tape carefully to avoid peeling the paint.
- Clean brushes and rollers immediately after use.
- Ventilate the kitchen to help the paint and sealer cure properly.
Tips and Tricks for a Professional Finish
Here are some expert tips to ensure you get a flawless result:
- Don’t Skip Primer: This step is crucial for paint adhesion.
- Handle Grout Lines Carefully: Use a small brush to paint grout lines, or tape them off if you want a contrasting look.
- Allow Proper Drying Time: Rushing the process can lead to smudges and uneven finishes.
- Maintenance: Clean painted tiles with a mild soap solution and avoid abrasive cleaners.
You may also read (kitchen cabinet door at home).